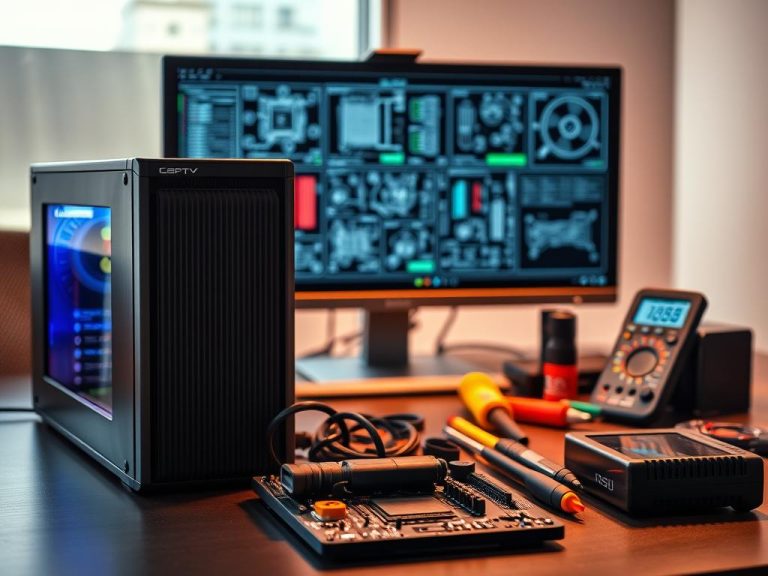
Understanding your system’s internal components is essential for upgrades, troubleshooting, and ensuring software compatibility. Whether you’re a beginner or an advanced user, this guide provides straightforward methods to find computer specifications quickly and efficiently.
From CPU and GPU details to RAM and storage information, knowing your hardware setup helps optimize performance. Built-in tools like Windows System Information and third-party solutions make it easy to access these details. Real-world examples, such as Intel processors versus AMD graphics cards, highlight the importance of understanding your system’s capabilities.
Technical terms like GHz, SSD vs HDD, and driver management are explained in simple terms. This knowledge prepares you for upgrades and ensures your system runs smoothly. For more detailed instructions, check out this comprehensive guide.
Your system’s performance hinges on its internal components, making it crucial to understand its specifications. Whether you’re running professional software or casual applications, the quality of your hardware directly impacts efficiency. For instance, a high-end processor ensures faster task execution, while sufficient memory allows smoother multitasking.
How Hardware Affects Performance
The relationship between components and performance is undeniable. A faster processor handles complex tasks like video editing or gaming with ease. Similarly, SSDs improve boot times and data transfer speeds compared to traditional HDDs. Matching your system’s capabilities to your workload ensures optimal results.
RAM plays a critical role in multitasking. More memory allows your device to handle multiple applications simultaneously without slowing down. For example, professional tools like Photoshop require higher RAM capacity to function efficiently.
When You Need to Check Your Specs
There are three key scenarios where verifying your specifications is essential. First, before installing new software, ensure your system meets the minimum requirements. Second, during upgrades, knowing your current setup helps you choose compatible components. Finally, troubleshooting performance issues often starts with reviewing your hardware details.
For instance, gaming enthusiasts often optimize their setups by checking graphics card and processor compatibility. Similarly, professionals using resource-intensive applications must verify their specifications to avoid bottlenecks.
How to See Computer Hardware Using Built-in Windows Tools
Built-in Windows tools offer a straightforward way to access your system’s specifications. Whether you’re reviewing your device details or preparing for an upgrade, these tools provide essential insights.
Using Windows Settings
Start by opening the Start Menu and navigating to Settings. From there, select System and click on About. This section displays key details like your operating system version, processor, and installed RAM.
For example, the “Installed RAM” field shows your current memory capacity. This information is crucial when upgrading or troubleshooting performance issues.
Navigating the System Summary
For a more detailed overview, use the System Information tool. Press the Windows key + R, type “msinfo32,” and hit Enter. This tool provides a comprehensive report, including your BIOS version and baseboard manufacturer.
Exporting this report is helpful for technical support. Simply click File > Export to save the details as a text file.
For additional guidance, refer to this comprehensive guide on checking your computer’s hardware specs.
Using System Information for Detailed Specs
For a comprehensive look at your system’s setup, the System Information tool is invaluable. It offers a detailed breakdown of your device’s internal components, making it easier to understand your specifications and plan upgrades or troubleshooting.
Accessing System Summary
To start, open the System Information tool by typing “msinfo32” in the Run dialog box. This brings up the System Summary, which provides an overview of your device’s key details. Here, you’ll find information about your processor, installed RAM, and operating system version.
The left navigation panel organizes data into categories like Hardware Resources and Components. This structure makes it easy to locate specific details, such as your motherboard model or BIOS date, which are essential for compatibility checks.
Interpreting Component Details
Dive deeper into the Components section to explore specific hardware details. For example, the Storage category reveals whether your device uses an SSD or HDD, along with its capacity. This information is crucial when planning upgrades or diagnosing performance issues.
Another useful feature is the ability to export reports. Simply navigate to File > Export to save a detailed summary. This is particularly helpful for professionals conducting hardware audits or sharing data with technical support teams.
Feature
System Information
Third-Party Tools
Ease of Access
Built into Windows
Requires installation
Detail Level
Comprehensive
Varies by tool
Export Options
Text file export
Multiple formats
For more advanced insights, consider using tools like Crucial System Scanner. These tools often provide additional functionalities, such as compatibility checks for upgrades.
Checking Specs via Command Prompt and PowerShell
Command-line tools like Command Prompt and PowerShell offer powerful ways to access detailed system information. These utilities are particularly useful for advanced users who need precise data about their components.
Running the Systeminfo Command
To retrieve a comprehensive overview of your system, use the systeminfo command. Open Command Prompt as an administrator, type “systeminfo,” and press Enter. This command displays details like the operating system version, processor, and installed memory.
For example, the output includes the BIOS version and network adapter information. To filter specific results, use the findstr command. For instance, “systeminfo | findstr /C:”Total Physical Memory”” isolates the RAM details.
Advanced PowerShell Scripts
PowerShell provides even more flexibility with cmdlets like Get-ComputerInfo. This command retrieves detailed hardware and software data, including processor speed and disk space. You can also export this information to a CSV file for further analysis.
Use Get-WmiObject to query specific hardware classes like Win32_Processor or Win32_PhysicalMemory.
Filter results with Where-Object to focus on critical details.
Export data using Export-Csv for reporting or troubleshooting.
For example, the script below exports processor details to a CSV file:
Always run scripts in an elevated PowerShell window to ensure proper execution. This approach is particularly useful for IT administrators managing multiple devices.
Using DirectX Diagnostic Tool (DxDiag)
The DirectX Diagnostic Tool (DxDiag) provides a detailed snapshot of your system’s audio and video components. This built-in utility is essential for diagnosing issues, verifying driver updates, and understanding your graphics card and sound device configurations.
Launching DxDiag
To open the dxdiag tool, press the Windows key + R, type “dxdiag,” and hit Enter. The tool will scan your system and display a summary of your hardware and software details. You can also access it via Command Prompt or PowerShell for advanced users.
Once launched, the tool provides four main tabs: System, Display, Sound, and Input. Each tab offers specific information about your device’s components, making it a versatile diagnostic resource.
Understanding Audio and Video Tabs
The Display tab reveals critical details about your graphics card, including VRAM capacity and driver version. For multi-GPU setups, it differentiates between integrated and dedicated GPUs, helping you identify potential conflicts.
The Sound tab lists all audio devices connected to your system. It’s particularly useful for resolving sound device conflicts or verifying driver updates. For example, checking the driver date against the manufacturer’s latest release ensures compatibility.
Use the Save All Information button to export a comprehensive report. This feature is invaluable for sharing data with technical support or conducting hardware audits.
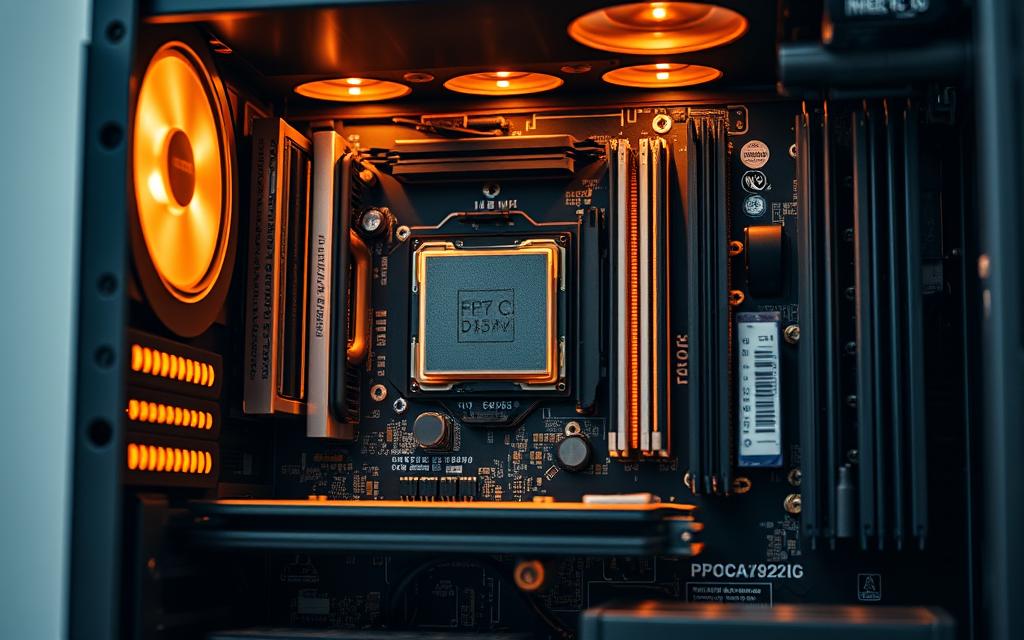
How to Check Your CPU and GPU
Your CPU and GPU are the backbone of your device’s performance, making it essential to know their specifications. Whether you’re upgrading, troubleshooting, or optimizing, understanding these components ensures your system runs smoothly.
Identifying Your Processor Model
To find your processor details, open Task Manager by pressing Ctrl + Shift + Esc. Navigate to the Performance tab and select CPU. Here, you’ll see the model name, clock speed, and core count.
For example, an Intel i7-6500U indicates the generation (6th), performance tier (i7), and specific features (U for ultra-low power). This information is crucial for compatibility checks and upgrades.
Finding Your Graphics Card Details
Your graphics card plays a vital role in rendering visuals. In Task Manager, go to the Performance tab and select GPU. This section displays the model, VRAM, and usage statistics.
Integrated GPUs are built into the motherboard, while discrete GPUs are standalone and offer better performance. Tools like GPU-Z provide advanced details, such as temperature and clock speeds, for enthusiasts.
Always ensure your drivers are up to date for optimal performance. Visit the manufacturer’s website, such as NVIDIA or AMD, to download the latest versions. This step is especially important for gaming or resource-intensive tasks.
Verifying RAM and Storage Capacity
Knowing your device’s RAM and storage details is key to optimizing performance and planning upgrades. These components directly impact how efficiently your system operates, whether you’re multitasking or running resource-intensive applications.
Checking Installed Memory
To verify your RAM capacity, open Task Manager by pressing Ctrl + Shift + Esc. Navigate to the Performance tab and select Memory. Here, you’ll see the total installed memory and its current usage.
For a more detailed analysis, use tools like the Crucial System Scanner. This utility provides insights into your RAM configuration, including dual-channel vs single-channel setups and DIMM slot population. Understanding these details helps identify potential bottlenecks and plan upgrades effectively.
Assessing Disk Type and Size
Your storage setup plays a significant role in overall performance. Open the System Information tool by typing “msinfo32” in the Run dialog box. Navigate to Components > Storage > Disks to view details about your drives.
SSDs offer faster data access compared to HDDs but often come with lower capacity. HDDs, on the other hand, provide more space but are slower. Tools like Crucial System Scanner can also reveal SSD endurance ratings and HDD S.M.A.R.T. status, helping you assess drive health.
Feature
RAM Verification
Storage Verification
Method
Task Manager, Crucial Scanner
System Information, Crucial Scanner
Details Provided
Capacity, Configuration
Type, Size, Health Status
Best Use Case
Upgrading, Troubleshooting
Performance Optimization
For advanced users, tools like Device Manager can provide additional insights into your system’s specifications. Regularly monitoring these details ensures your device remains efficient and ready for future demands.
Conclusion
Maintaining your device’s performance starts with understanding its core components. Regularly verifying your specifications ensures compatibility and efficiency. Built-in tools and third-party utilities simplify this process, providing detailed insights into your system’s setup.
Driver management is crucial for optimal performance. Keep your firmware updated to avoid compatibility issues. When planning upgrades, consider emerging technologies like PCIe 5.0 and DDR5 for future-proofing.
Conducting regular hardware audits helps identify potential issues early. This proactive approach extends your device’s lifespan and enhances its reliability. Whether for personal or enterprise use, understanding your specifications ensures your system meets current and future demands.
FAQ
Why is it important to know my computer’s specifications?
Understanding your system’s hardware helps optimize performance, troubleshoot issues, and ensure compatibility with software or upgrades.
What’s the easiest way to check basic specs in Windows?
Open Settings > System > About for a quick overview of your processor, RAM, and OS version.
How do I find detailed hardware information?
Use the System Information tool (type msinfo32 in Run) for a comprehensive breakdown of components like your motherboard and drivers.
Can I check specs without third-party software?
Yes. Tools like DirectX Diagnostic (dxdiag), Command Prompt (systeminfo), and PowerShell provide built-in diagnostics.
Where do I find my graphics card details?
In dxdiag, navigate to the Display tab to see your GPU model, VRAM, and driver version.
How do I verify my RAM and storage capacity?
Check Task Manager > Performance or System Information for memory size and disk specifications.
What’s the difference between CPU and GPU in system specs?
The CPU handles general tasks, while the GPU manages graphics. Both are listed under separate tabs in diagnostic tools.
Keeping your computer in top shape is essential in our digital world. Regular cleaning boosts its function and extends its life. Dust and dirt build up, causing overheating and slowing it down. By cleaning regularly and following maintenance tips, you can keep your hardware running smoothly. This guide shows you how to clean your computer…
Knowing what’s inside your computer helps with fixing problems and improving it. You can figure out if your system is good enough for now or later. This is true whether you love gaming or just use your computer for simple stuff. There are many ways to check your computer’s parts, like using Windows Settings, Device…
The home theater PC (HTPC) has transformed digital entertainment in our living spaces. This versatile hub offers unprecedented access to digital content. It bridges the gap between traditional computing and home cinema. Modern HTPCs seamlessly integrate movies, TV shows, music, and games into one powerful system. Users can now enjoy a comprehensive entertainment experience beyond…
If you want to make your computer faster, understanding its parts is key. The motherboard is crucial. It connects the CPU, RAM, and more, kind of like how the spine supports the body. We’ll look at each part of the computer, explaining their jobs and how they work together. This makes your computer do its…
Understanding computer hardware is key for diving into tech. An array of components is vital for a computer’s performance. This guide explains the basic parts and how they connect. It covers from the motherboard to the CPU, and RAM to storage. Knowing each part’s role helps optimise modern machines. The Essential Role of the Motherboard…
Computer hardware skills are vital in our digital world. IT pros need various technical abilities to thrive. These skills are crucial for a solid career in tech. Computer hardware engineering requires knowledge across multiple areas. Professionals must develop six core skills. These include hardware troubleshooting, installation, testing, security, networking, and innovation. These abilities help experts…