Sharing files and resources across devices is essential for productivity. Whether you’re working in an office or at home, setting up proper permissions ensures smooth collaboration. Windows systems offer flexible options to control who can view or edit shared content.
Managing access securely prevents unauthorized changes while allowing the right users to work efficiently. Many face challenges like authentication errors or restrictive settings. Understanding the basics helps avoid these common pitfalls.
This guide covers the fundamentals of sharing files on a network. You’ll learn the difference between basic and advanced configurations. We’ll also highlight key security measures to protect sensitive data.
Follow these steps to set up seamless resource sharing. Ensure your files remain safe while staying accessible to authorized team members.
How to Give Permission to Another Computer on Network?
Efficient collaboration starts with proper network setup. To allow seamless resource sharing, you need to enable specific settings on your system. This ensures authorized users can access shared files and printers without compromising security.
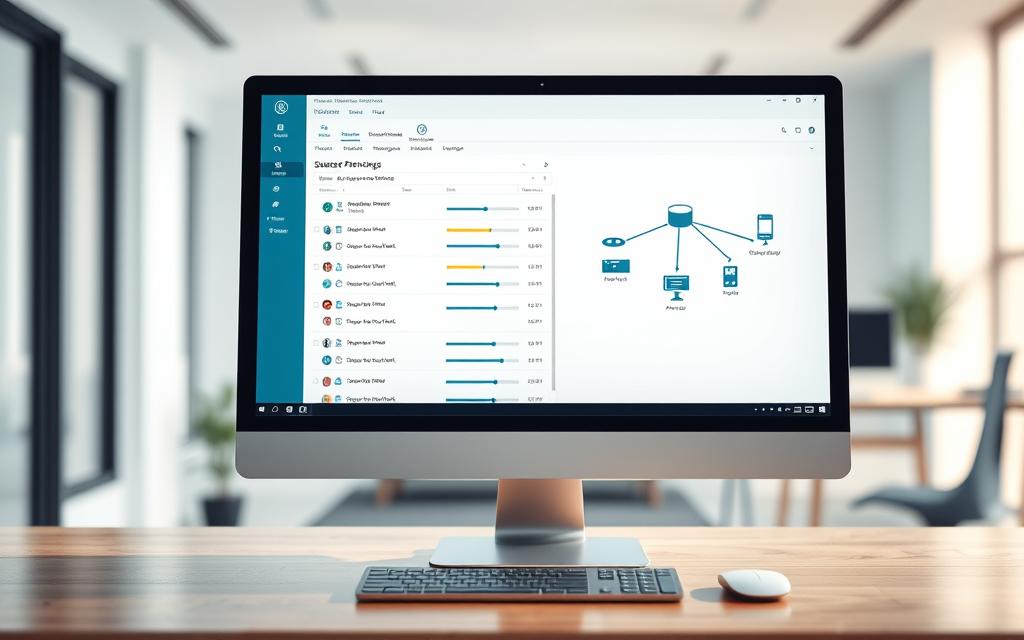
File and printer sharing is essential for collaborative workflows. Navigate to the Control Panel and open the Network and Sharing Center. From there, select Advanced sharing settings to activate this feature.
Ensure the following services are enabled:
Network discovery
File and printer sharing
Public folders
These settings allow your system to detect other devices and share resources effectively. For private networks, authentication is simpler, while public networks require stricter security measures.
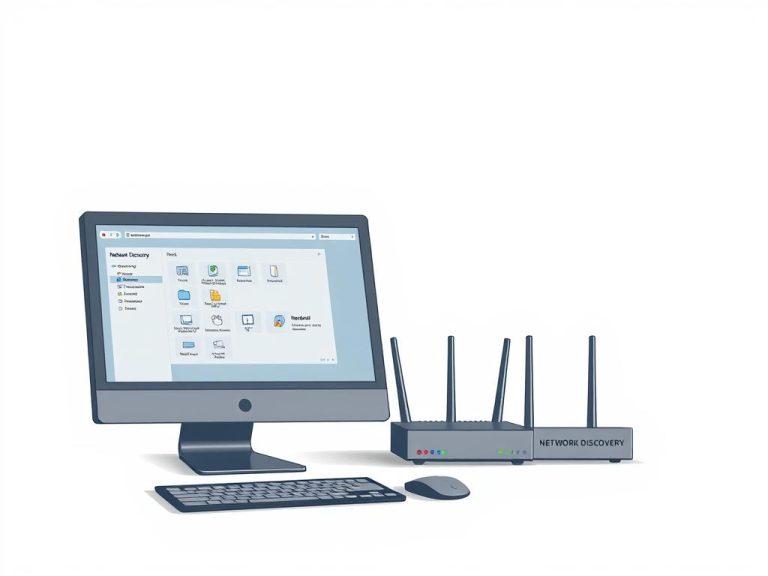
Configuring Network Discovery Settings
Network discovery ensures your system is visible to other devices on the same network. This setting is crucial for accessing shared resources. In the Advanced sharing settings, toggle network discovery to on.
For added security, consider disabling public folder sharing on public networks. This prevents unauthorized access to sensitive data. Always verify firewall settings to ensure they don’t block sharing capabilities.
If devices aren’t recognized, troubleshooting steps like accessing other computers on the network can resolve connectivity issues. Following Microsoft-recommended configurations ensures optimal performance and security.
Setting Up Shared Folder Permissions in Windows
Configuring shared folder permissions in Windows ensures secure and efficient file access. Proper setup allows authorized users to view or modify files while protecting sensitive data. This process involves navigating the folder properties and adjusting settings to meet specific needs.
Sharing a Folder via Properties
To share a folder, right-click it and select Properties. Navigate to the Sharing tab and click Advanced Sharing. Here, you can enable sharing and assign a custom name for the shared resource. This step ensures the folder is accessible to other devices on the network.
Assigning Read/Write Access to Users
Permissions control what users can do with the shared folder. In the Advanced Sharing dialog, click Permissions to assign read/write access. You can choose from three levels:
Read: Users can view files but not modify them.
Change: Users can view, edit, and delete files.
Full Control: Users have complete access, including modifying permissions.
Managing Advanced Sharing Options
Advanced settings provide granular control over permissions. Disable inheritance to create custom rules for specific users or groups. Use the Security tab to configure NTFS permissions, which apply to both local and network access. Combining NTFS and share-level permissions ensures comprehensive security.
Permission Type
Scope
Use Case
Share Permissions
Network access only
Limit simultaneous users
NTFS Permissions
Local and network access
Detailed file and subfolder control
Regularly audit permissions to maintain alignment with security requirements. Implementing least-privilege access minimizes risks while ensuring efficient collaboration.
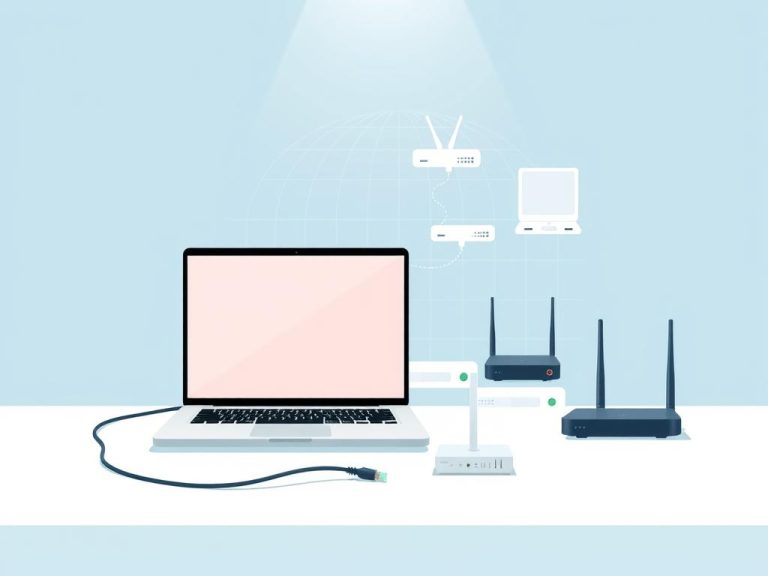
Accessing Shared Folders from Another Computer
Accessing shared resources across devices simplifies workflows and boosts efficiency. Whether you’re working in a team or managing files remotely, connecting to a shared folder ensures seamless collaboration. Windows provides straightforward methods to access these resources securely.
Connecting via File Explorer
Windows File Explorer is the primary tool for accessing shared folders. To connect, enter the UNC path (\\computername\sharename) in the address bar. This method allows direct access to the shared resource without additional setup.
For persistent access, consider mapping the shared folder as a network drive. This ensures the folder appears under Network locations in File Explorer. Mapping is ideal for frequently accessed resources.
If authentication is required, enter the correct username and password. Windows Credential Manager can save these details for future use, streamlining the process.
Resolving Network Credentials Errors
Authentication issues often arise when accessing shared folders. Common errors include incorrect usernames or passwords. Verify the credentials and ensure they match the account on the host computer.
For non-domain joined devices, use local account credentials. Check the permissions assigned to the shared resource to confirm access rights. If issues persist, troubleshoot network settings or firewall configurations.
Credential caching can also cause problems. Clear saved credentials in Credential Manager and re-enter the details. This resolves most authentication errors.
Issue
Solution
Access Denied
Verify permissions and credentials
Network Unavailable
Check network discovery and firewall settings
Authentication Failure
Clear cached credentials and re-enter details
For more detailed troubleshooting, refer to this guide on access another computer on your network. Proper setup ensures smooth access to shared resources while maintaining security.
Conclusion
Properly managing network sharing ensures both accessibility and security. Configuring permissions correctly allows authorized users to collaborate efficiently while protecting sensitive data. Regular audits of these settings are essential to maintain alignment with security requirements.
For home setups, simplicity is key. Focus on basic sharing options and disable unnecessary features on public networks. In office environments, advanced configurations like NTFS permissions and firewall rules provide robust protection.
Balancing access with security ensures smooth workflows without compromising data integrity. Troubleshooting tools like the Shared Folders troubleshooter can resolve persistent issues quickly. Stay updated with Windows updates to future-proof your sharing configurations.
By following these steps, you can create a secure and efficient network environment tailored to your needs.
FAQ
How do I enable file sharing on Windows?
Open Control Panel, navigate to Network and Sharing Center, then click Change advanced sharing settings. Enable file and printer sharing and save changes.
Why can’t other computers see my shared folder?
Ensure network discovery is turned on in Network and Sharing Center. Also, verify both computers are on the same workgroup or domain.
How do I assign read/write access to a shared folder?
Right-click the folder, select Properties, go to the Sharing tab, and click Advanced Sharing. Set permissions under the Security tab for specific users.
What should I do if I get a network credentials error?
Enter the correct username and password for the host computer. Ensure the account has shared folder permissions in Windows.
Can I restrict access to certain users in a shared folder?
Yes. Under the Security tab in folder properties, modify permissions for individual users or groups to limit read/write access.
Network discovery is crucial for smooth computer communication. It allows efficient file sharing and resource access across multiple devices. This skill is vital in our interconnected digital world. Network discovery enables computers within a LAN to interact. Samba, a file-sharing software, simplifies this process during installation. Successful network sharing requires consistent workgroup settings and proper…
A strong home network is vital in our digital world. With 90% of U.S. homes online, knowing how to set up a home network is crucial. It helps ensure smooth digital interactions for everyone. Home networking has changed a lot. Families now use many internet devices at once. These include laptops, smartphones, and smart home…
The network neighborhood concept is key in computer networks. It started with Windows networking in Windows 95. This feature changed how people accessed shared resources on Local Area Networks (LANs). Now, users can easily find and use files, printers, and other computers. This made a once tough process easy and intuitive. Learning about network neighborhood…
In today’s world, linking up with a computer network is key for work and fun. Knowing how to set up networks, like Wi-Fi and Ethernet, is vital. This guide will show you easy steps to connect online with the right tools and know-how. It’s crucial to have the right gear. You’ll need a modem and…
The field of network architecture is vital for today’s IT professionals. There are about 174,800 computer network architects working in different sectors. This job demands more than tech skills. It needs special traits for success. Traits like good communication, solving problems, and attention to detail are key. Great computer network architects are crucial in creating…
Computer networks connect multiple devices, enabling seamless data sharing and communication. These systems have evolved significantly since their inception, transforming how we interact with technology. The first operational network, ARPANET, was developed in the late 1960s. Funded by the Department of Defense, it laid the foundation for modern internet infrastructure. Today, networks support diverse applications,…